Showing posts with label diy. Show all posts

Saturday, October 26, 2013

Here's Your Sign

Last year I had a buffet that had wonky doors.  In an effort to salvage the buffet, I took the doors off.

See how the doors didn't meet?
So I took the doors off.  You can see the rest of the buffet make-over here.

Well I took the doors and made signs out of them.
I started off by taping off the border and painting the panel of the door in Old White.

Then I cut stencils out of contact paper with my Silhouette.


I decided to paint the first sign by stenciling the letters.  
I painted them black

then removed the stencil.

The second was was stenciled in relief.  
I applied the letters to the white base, painted over them in red, then removed the letters to reveal the white below.

Both pieces were then topped with a coat of clear wax.
I'm so glad I was able to take a buffet that redeem her issues!


Pin It

Sunday, February 24, 2013

Frame Up a Bulletin Board

When I was a kid I had a giant bulletin board that my grandfather made for me.  I remember thinking it was the coolest thing that he could make a bulletin board.  Now I know how easy it is!

I found this awesome frame at Ikea and decided I'd use it for a bulletin board.  You could use any frame you have on hand.  I had my husband cut a piece of thin plywood to fit the frame.  Cardboard could also work.


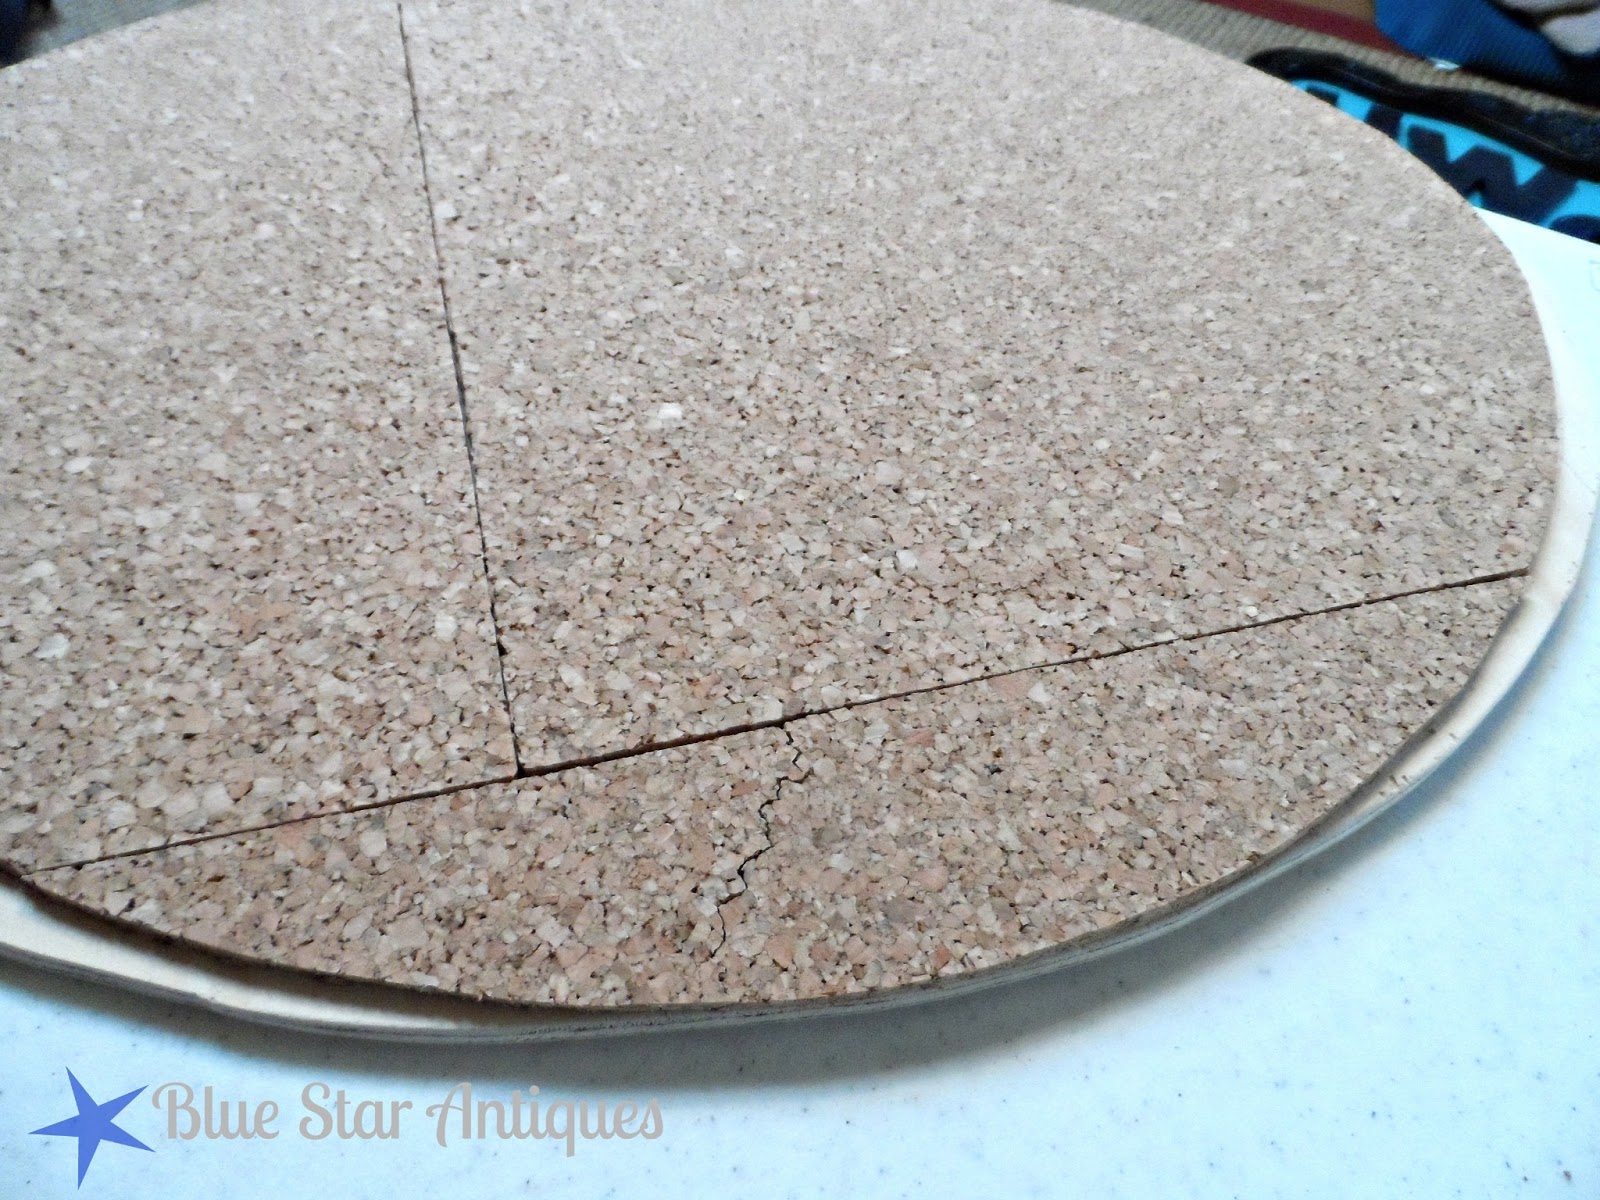
I bought cork squares at Lowe's.  You might find a roll of cork.  My Lowe's didn't carry it any more.


I traced the opening of the frame onto the plywood so I'd know where to end the cork.  


I used spray adhesive to attach the cork to the plywood, then used a razor blade knife to trim the cork to the size of the frame opening.

You can see where the seams from the cork squares are.  It's not going to show since I plan to cover it with fabric.


I trimmed the cork as close to my pencil line as I could get it.


I found this awesome fabric at Calico Corners and fell in love.  It reminded me of a grain sack at a fraction of the price.

This would be perfect in this frame!  So I used my staple gun to wrap it around the board and attach it to the back.  If you used cardboard, you could probably duck tape the fabric on the back!


I'm liking it!

Then I just had to pop it into the frame.

Next I need to make some cute thumb tacks for it.
Any ideas?


Pin It

Sharing at these parties:
mop it up mondaysThree Mango SeedsToo Much Time On My HandsPhotobucket thurCozyLittleHousebadge150x Mod Vintage LifeA Diamond in the Stuff

Sunday, January 27, 2013

Milk Paint Renovation

A couple of years ago I found a vintage cabinet that had been a built-in in an old home.  I loved the authentic shabbiness of it, bought it, and put it in the booth.  It sat there for a year.  I put it on sale 1/2 off.  Still didn't sell.  I finally came to terms with its issues.  


It was missing a piece of molding and didn't have a back. 
I should have dealt with that when I bought it!
So I got the hubster to cut some bead board for the back and replaced the missing molding.
Now I needed to paint it.  What a great piece to try out Miss Mustard Seed's Milk Paint! 

I bought some Flow Blue at an antique mall and have been waiting on the right piece to try it on.  This would be great!

Now I've never used milk paint before and there was definitely a learning curve on this one.  I watched MMS videos on how to mix and use the paint, then dived in.

Here's what I learned along the way:
1.  Use HOT water to mix the paint.  On my first batch I used warm and it didn't dissolve all the mix and I ended up with paste at the bottom of the cup.  I used hot tap water the second time and it mixed much faster and easier.
2.  It's hard to figure out how much paint to mix, but you want to mix enough for the project.  I didn't mix enough and had to mix a second batch and it didn't have the same color properties, almost like a different dye lot.  I ended up having to mix a third batch and repaint the whole thing so the color was consistent.
3.  Use a drop cloth and cover anything you don't want painted.  This paint is runny and I found myself making a mess with drips, which I normally don't have problems with when painting with regular paint. 

Otherwise, I love the rich, saturated color.  

Kinda hard to tell in these pictures, but it's almost a peacock blue color.

Of course the best thing about this paint is its natural chippiness.
At first I was afraid it wouldn't chip, but it did!

MMS Milk Paint turned this ok piece into an ahhh piece!

I topped it off with a coat of clear wax and it's now back in the shop.  

And now it's not embarrassed to be there!


Pin It

Showing off at these parties:

mop it up mondaysPhotobucket photo thurCozyLittleHousebadge150x.jpgMod Vintage LifeA Diamond in the StuffMy Repurposed Life Photobucket75x75The Shabby Nest