
I found this awesome frame at Ikea and decided I'd use it for a bulletin board. You could use any frame you have on hand. I had my husband cut a piece of thin plywood to fit the frame. Cardboard could also work.

I bought cork squares at Lowe's. You might find a roll of cork. My Lowe's didn't carry it any more.

I traced the opening of the frame onto the plywood so I'd know where to end the cork.

I used spray adhesive to attach the cork to the plywood, then used a razor blade knife to trim the cork to the size of the frame opening.

You can see where the seams from the cork squares are. It's not going to show since I plan to cover it with fabric.
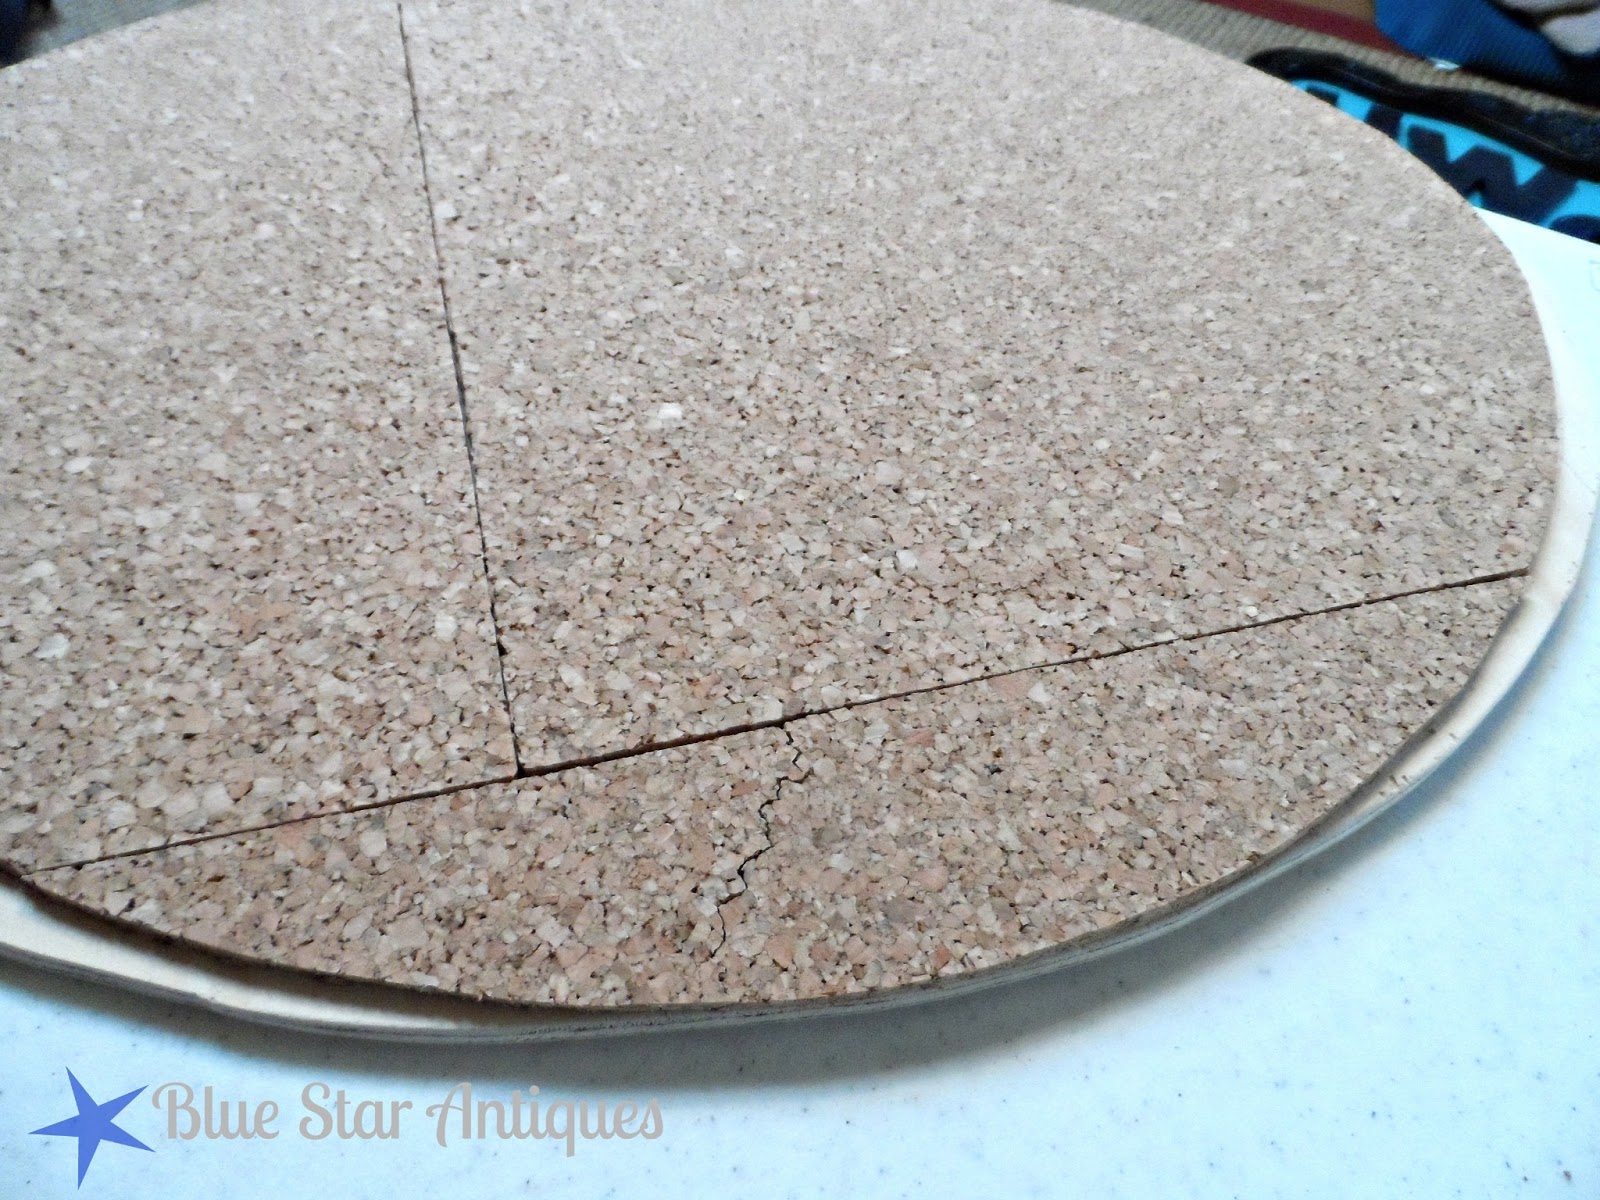
I trimmed the cork as close to my pencil line as I could get it.

I found this awesome fabric at Calico Corners and fell in love. It reminded me of a grain sack at a fraction of the price.

This would be perfect in this frame! So I used my staple gun to wrap it around the board and attach it to the back. If you used cardboard, you could probably duck tape the fabric on the back!

I'm liking it!

Then I just had to pop it into the frame.

Next I need to make some cute thumb tacks for it.
Any ideas?


Sharing at these parties:


11 comments:
I swoon! The choice of frame and fabric are the perfect combo! Hope you can stop by the enchanted oven!
xo,
Lisa
oh my word! I'm in love with this bulletin board - awesome job girlie!!
♥ http://www.northerncottage.net
What a cute bulletin board! Love your fabric! Life to the full, Melissa @ DaisyMaeBelle
Super cute! Love that frame:)
XO,
Christy
http://www.confessionsofaserialdiyer.com
Hi Cyndi, I found your blog via Pinterest while searching for stenciling. I love the bulletin board you made! I had an idea for push pins. You can buy cover buttons, add the fabric of your choice and glue thumb tacks to the back. I found a tutorial from Addicted 2 Decorating a while back. I hope this helps.
-Katie
http://www.addicted2decorating.com/crafty-tute-tuesday-fabric-button-fridge-magnets-and-push-pins.html
It turned out really cute! The frame is lovely.
Cyndi - I am coming over from Cozy Little House. I love your bulletin board. You did a great job! I have a real good friend who lives in Cisco and I visit often. Next time I'm there, we'll make a point of visiting your booth!
Judy
Thanks for the cute tutorial. I am pinning it. I found and followed you through Cozy Little House.
Laura
So pretty! And I love the fabric choice!
Great job on the tutorial! Love it.
Homa Style is having a link party that ends Tuesday evening.
I would love to see this at the party!
The link is
http://homastyle.com/wp/2013/02/27/inspire-me-link-party/
I do all I can to help promote links to my parties.
I found some adorable round wooden circles with numbers stenciled on them and a border at Hobby Lobby. they are about the size of a penny. you could stain them a red as the wood is very lightt and add a pin to the back...sooo cute and there were maybe 20 for only $1.99
Post a Comment